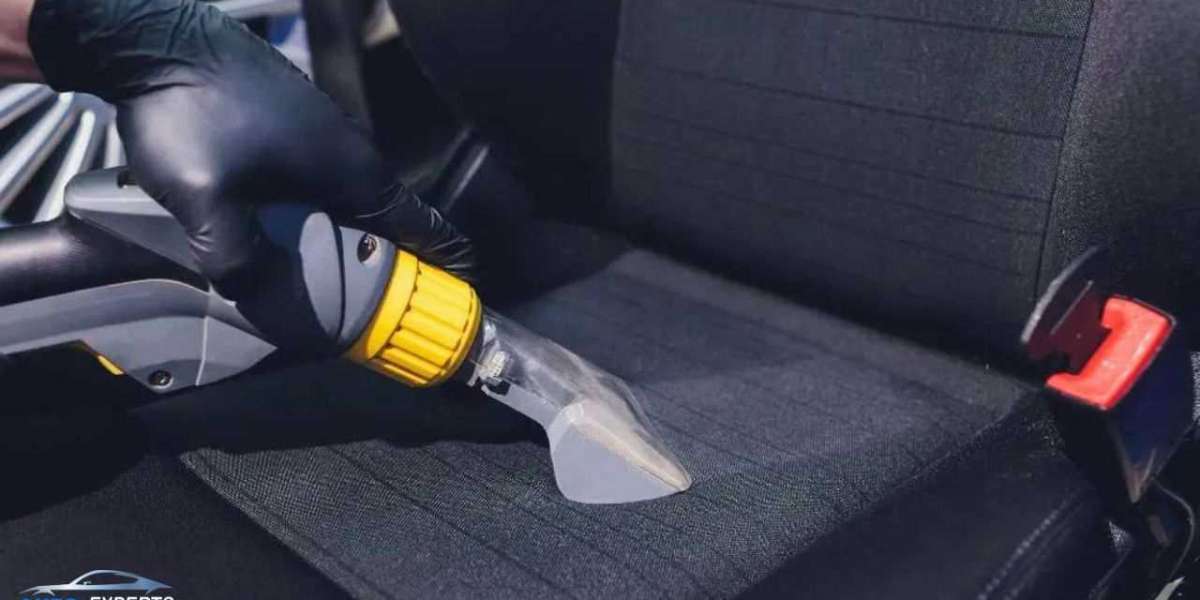
Keeping your car seats clean is essential for maintaining the interior's appearance and resale value. Stains from food, drinks, pets, or everyday dirt can make your car look shabby. However, with the right approach and tools, you can easily remove these stains and restore your seats to their original condition. Here are some effective tips to remove car seat stains that are easy to follow and deliver excellent results.
1. Identify the Type of Stain
The first step in removing a stain is to identify its type. Common types of stains include:
- Food and drink stains: These can be from coffee, soda, ketchup, or juice.
- Oil and grease stains: Often from food or mechanical sources.
- Mud and dirt stains: Brought in from shoes or pets.
- Ink stains: From pens or markers.
- Pet stains: Urine, vomit, or fur-related stains.
Each type of stain requires a slightly different approach for effective removal.
2. Gather the Necessary Cleaning Supplies
Before you begin cleaning, gather the necessary supplies. Here's a list of items you may need:
- Vacuum cleaner: To remove loose dirt and debris.
- Microfiber cloths: Soft and non-abrasive for wiping stains.
- Soft-bristle brush: Useful for scrubbing without damaging the fabric.
- Spray bottle: To apply cleaning solutions evenly.
- Baking soda: A natural cleaner for deodorizing and mild stain removal.
- White vinegar: Effective for removing stains and odors.
- Mild dish soap: For general cleaning purposes.
- Rubbing alcohol: Useful for ink and dye stains.
- Commercial upholstery cleaner: For tougher stains that need specialized products.
3. General Cleaning Steps
Step 1: Vacuum the Seats
Start by vacuuming your car seats to remove loose dirt, crumbs, and debris. This step is crucial because it prevents dirt from spreading or getting embedded into the fabric during the cleaning process. Use a vacuum with attachments to reach crevices and tight spots.
Step 2: Pre-Treat the Stains
For most stains, pre-treating is essential. Here’s how you can pre-treat different types of stains:
Food and drink stains: Mix a solution of mild dish soap and warm water. Use a microfiber cloth to dab the stain gently, starting from the edges and working inward to avoid spreading. Let it sit for a few minutes.
Oil and grease stains: Sprinkle baking soda directly on the stain to absorb excess oil. Leave it for about 15 minutes, then vacuum it up. Follow with a cleaning solution made from vinegar and water.
Mud and dirt stains: Allow the mud to dry completely. Once dry, use a brush to loosen it and vacuum it away. Then, use a soapy water solution to clean any remaining dirt.
Ink stains: Dab rubbing alcohol onto a microfiber cloth and gently blot the ink stain. Be careful not to scrub, as this can spread the ink. Repeat until the stain fades.
Pet stains: Use an enzyme cleaner specifically designed for pet stains to break down the proteins and eliminate odors.
Step 3: Apply the Cleaning Solution
For a homemade cleaning solution, mix equal parts of white vinegar and water in a spray bottle. Lightly spray the stained area without soaking it. Allow the solution to sit for a few minutes to break down the stain.
Step 4: Scrub Gently
Using a soft-bristle brush, gently scrub the stain in circular motions. Avoid using excessive force, as this can damage the fabric. For delicate materials like leather, use a microfiber cloth instead of a brush.
Step 5: Rinse and Dry
After scrubbing, dampen a clean cloth with water and wipe away the cleaning solution. It’s important to remove any residue to prevent attracting more dirt. Use a dry microfiber cloth to blot excess moisture and let the seats air dry completely. Open your car doors or windows to enhance ventilation and speed up drying.
4. Special Tips for Leather Seats
Leather seats require a different approach to stain removal to avoid damage:
Use a leather cleaner: Purchase a cleaner specifically designed for leather upholstery. Apply it according to the manufacturer's instructions.
Avoid harsh chemicals: Do not use ammonia-based cleaners, bleach, or abrasive pads on leather.
Condition the leather: After cleaning, use a leather conditioner to keep the material supple and prevent cracking.
5. Prevent Future Stains
Once you've successfully removed stains, consider taking steps to prevent them in the future:
Seat covers: Invest in quality seat covers that can be easily removed and washed.
Immediate cleaning: Address spills immediately to prevent them from setting in.
Regular vacuuming: Vacuum your car seats regularly to prevent dirt buildup.
Limit food and drink consumption: Try to avoid eating and drinking in your car when possible.
Conclusion
Removing stains from car seats doesn't have to be a daunting task. By following these car seat stain removal tips, you can effectively tackle various types of stains and maintain the interior of your vehicle. Regular cleaning and prompt attention to spills will keep your car seats looking fresh and extend their lifespan, ensuring that your car remains a comfortable and pleasant place to be.


