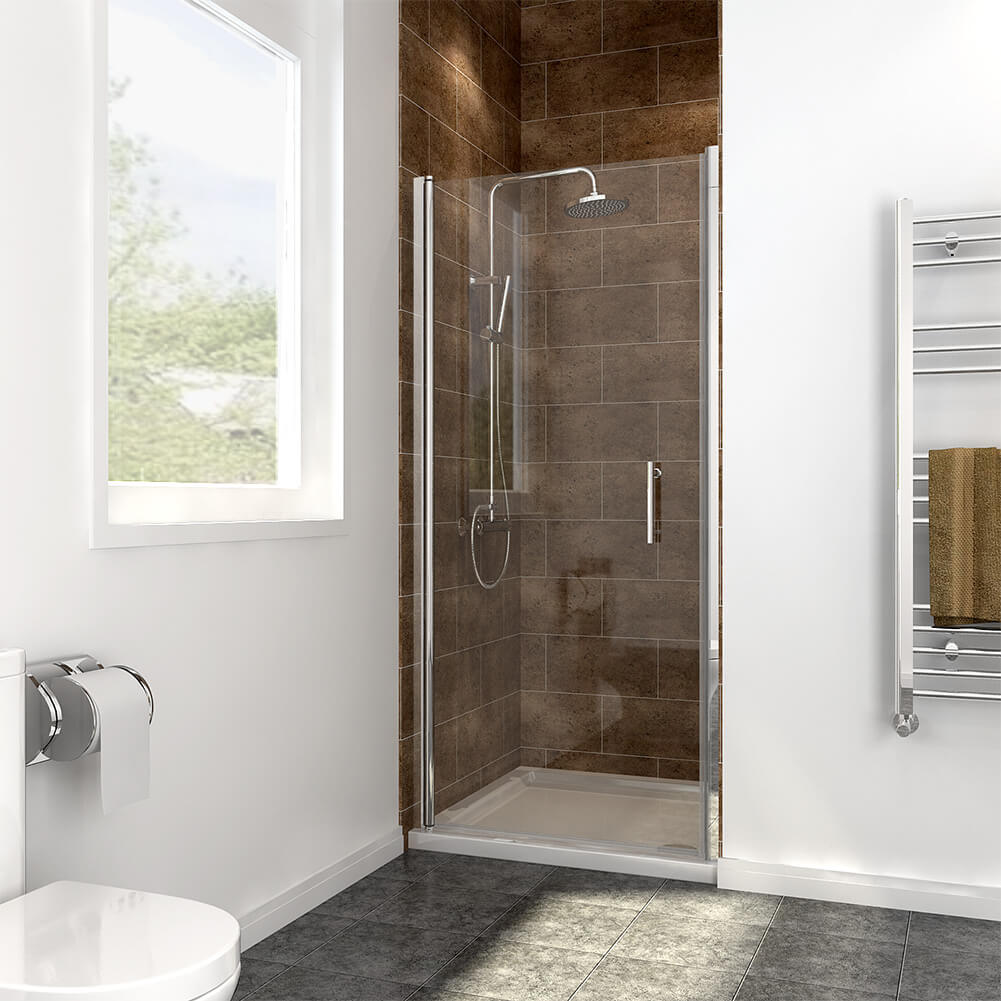
Are you tired of dealing with shower curtains that cling to your body or leak water onto the bathroom floor? It's time to upgrade to a sliding shower screen! Not only does it provide a sleek and modern look to your bathroom, but it also offers practical benefits such as preventing water from splashing outside the shower area. In this step-by-step installation guide, we will walk you through the process of installing a sliding shower screen on your own.

Gather the Necessary Tools and Materials
Before you begin the installation process, it's important to gather all the necessary tools and materials. This will ensure a smooth and efficient installation. Here are some of the items you will need:
- Measuring tape
- Screwdriver
- Level
- Drill
- Masking tape
- Shower screen kit
Make sure to read the instructions provided with your shower screen kit to familiarize yourself with any additional tools or materials that may be required.
Measure and Mark the Installation Area
Before you start drilling any holes, it's crucial to measure and mark the installation area accurately. Use a measuring tape to determine the height and width of the shower opening. Mark these measurements on the wall using masking tape. This will serve as a guide during the installation process.
It's important to ensure that the shower screen is level and plumb. Use a level to check the vertical and horizontal alignment of the marked area. Adjust the markings if necessary to ensure a straight and even installation.
Install the Bottom Track
The bottom track is an essential component of a sliding shower screen as it provides stability and support. Start by attaching the bottom track to the shower base or floor using screws or adhesive, depending on the type of shower screen kit you have. Make sure the track is aligned with the marked area and level. Use a level to double-check the alignment before securing it in place.
Once the bottom track is securely installed, test the sliding motion of the shower screen panels to ensure they move smoothly along the track. Make any necessary adjustments to the track if the panels do not slide effortlessly.
Mount the Side Jambs
The side jambs are vertical pieces that hold the shower screen panels in place. Begin by attaching the side jambs to the wall using screws or adhesive. Ensure that the jambs are aligned with the marked area and level. Use a level to confirm the vertical alignment before securing them firmly.
Once the side jambs are securely mounted, check the sliding motion of the shower screen panels again. They should glide effortlessly along the bottom track and fit snugly within the side jambs. If there are any issues, make the necessary adjustments to ensure a smooth operation.
Finalize the Installation
With the bottom track and side jambs in place, the final step is to install any additional components included in your shower screen kit, such as handles or towel bars. Follow the manufacturer's instructions to attach these accessories securely.
Once all the components are installed, give the shower screen a thorough inspection. Check for any loose screws or misaligned panels. Make any necessary adjustments to ensure everything is secure and functioning correctly.
Congratulations! You have successfully installed a sliding shower screen in your bathroom. Enjoy the enhanced functionality and aesthetic appeal it brings to your space.
Additional Resources:
For more information on the installation process and tips for maintaining your sliding shower screen, check out these helpful resources:


