In today’s world, personalizing your belongings has become a popular way to express individuality and creativity. One of the easiest and most impactful ways to customize your tech is by creating your own DIY laptop skins. With a little creativity and effort, you can turn your laptop into a unique statement piece that reflects your style. This article will guide you through the process of designing and applying DIY laptop skins, including tips for sourcing materials and inspiration for your custom designs. We will also touch upon how laptop skins in Pakistan are gaining popularity among tech enthusiasts.
Why Choose DIY Laptop Skins?
Personalization
Creating your own laptop skin allows for unlimited customization. Unlike pre-made options, DIY skins let you select colors, patterns, and images that truly represent your personality. Whether you’re a graphic designer, an artist, or someone with a passion for DIY crafts, designing a laptop skin can be a fun and rewarding project.
Cost-Effective
Buying custom laptop skins can be expensive, especially if you’re looking for high-quality materials. By opting for a DIY approach, you can save money while still achieving a professional look. All you need are some basic materials, a little time, and a creative mindset.
Unique Design
One of the biggest advantages of DIY laptop skins is that you can create a one-of-a-kind design that no one else will have. This uniqueness allows you to stand out and make a statement, whether you’re at work, school, or out in public.
Materials Needed for DIY Laptop Skins
Vinyl Sheets
Vinyl sheets are the most common material used for laptop skins. They are flexible, durable, and easy to apply. Vinyl is also available in various finishes, including matte, glossy, and textured. For the best results, choose high-quality vinyl that is designed specifically for custom skins.
Design Software
To create your custom design, you’ll need some design software. Programs like Adobe Illustrator, Photoshop, or free alternatives like GIMP can help you design your laptop skin with precision. Make sure your design is high-resolution to ensure a sharp, clear print.
Cutting Tools
Once you have your design, you’ll need cutting tools to trim the vinyl to the correct size. A cutting mat, a craft knife or scalpel, and a ruler are essential for this step. If you have access to a vinyl cutter, it can make the process easier and more accurate.
Application Tools
To apply your DIY laptop skin smoothly, you’ll need some application tools. A squeegee or credit card can help you smooth out any bubbles or wrinkles in the vinyl. Additionally, a heat gun or hairdryer can be used to warm the vinyl and make it more pliable.
Designing Your Laptop Skin
Conceptualize Your Design
Before you start designing, think about what you want your laptop skin to represent. Are you looking for something minimalist or elaborate? Do you want to include your favorite quotes, images, or patterns? Sketch out your ideas and refine them before moving to the digital design phase.
Create Your Design
Using your chosen design software, create a digital version of your design. Make sure to measure your laptop’s dimensions accurately and set up your design file to match these measurements. This ensures that your skin will fit perfectly when applied.
- Resolution: Use high resolution (at least 300 DPI) to ensure a crisp print.
- Color Accuracy: Check that the colors in your design match the colors of the vinyl sheets you’re using.
- Trim Lines: Add trim lines or margins to ensure that the design fits around any laptop features like the camera or ventilation.
Print Your Design
Once your design is finalized, print it onto the vinyl sheets. If you don’t have a printer that can handle vinyl, consider using a professional printing service. Ensure that the print is clear and that the colors are vibrant.
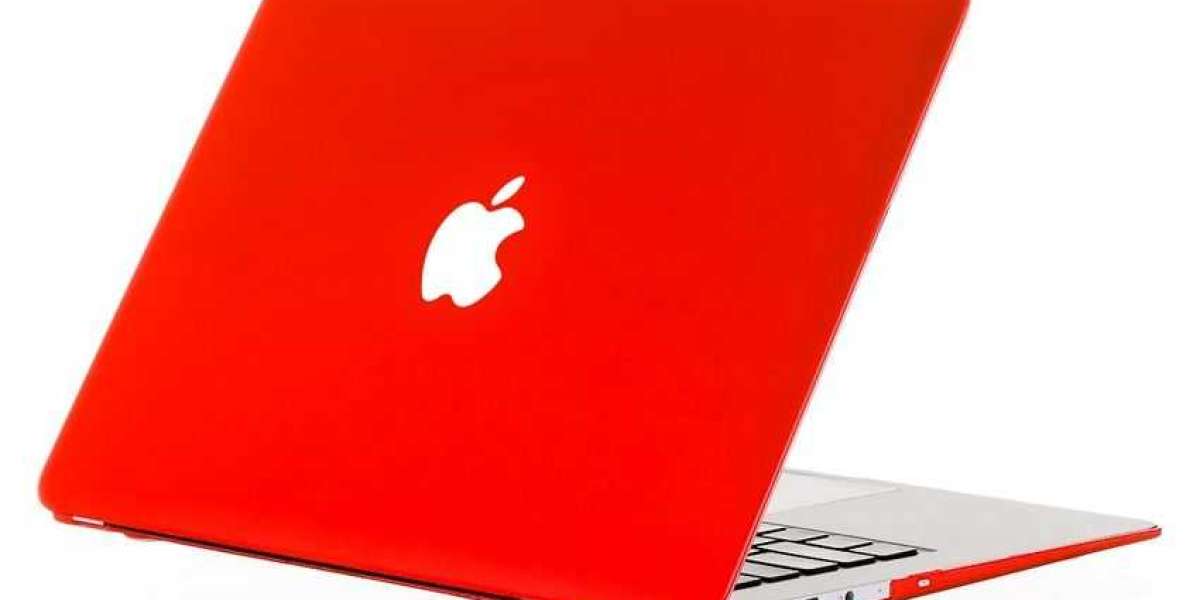
Applying Your DIY Laptop Skin
Prepare Your Laptop
Before applying the skin, clean your laptop thoroughly to remove any dust, dirt, or oils. Use a microfiber cloth and some rubbing alcohol to ensure a clean surface. This helps the vinyl adhere better and prevents bubbles from forming.
Cut and Apply the Vinyl
Carefully cut the vinyl to match the dimensions of your laptop. Leave a small margin around the edges to account for any slight inaccuracies. Position the vinyl on the laptop and start applying it from one end to avoid trapping air bubbles.
- Smooth Application: Use a squeegee or credit card to smooth out the vinyl, working from the center outwards to push out any air bubbles.
- Heat Application: If you encounter any wrinkles or uneven areas, use a heat gun or hairdryer to gently heat the vinyl. This makes it more flexible and easier to mold around curves.
Trim and Finalize
Once the vinyl is applied smoothly, trim any excess material around the edges. Pay attention to openings for ports and vents, ensuring they are not covered. Press down all edges and corners firmly to secure the skin in place.
Tips for a Successful DIY Laptop Skin
Test Your Design
Before applying the skin to your laptop, test the design on a small piece of vinyl. This allows you to check the print quality and make any necessary adjustments before committing to the final product.
Practice Precision
Take your time with cutting and applying the vinyl. Precision is key to achieving a professional-looking result. If you make a mistake, you can often carefully remove the vinyl and reapply it.
Maintain Your Skin
To keep your laptop skin looking fresh, clean it regularly with a dry or slightly damp cloth. Avoid using harsh chemicals or scrubbing too hard, as this can damage the vinyl.
Popular Trends for DIY Laptop Skins
Nature-Inspired Designs
Nature-inspired themes, such as floral patterns, landscapes, or animal prints, are popular choices for laptop skins. These designs add a touch of the outdoors to your tech and can be customized to suit your personal style.
Minimalist Aesthetics
If you prefer a clean, modern look, consider minimalist designs with simple shapes, patterns, or monochromatic color schemes. These designs can give your laptop a sleek and sophisticated appearance.
Pop Culture References
For fans of movies, music, or art, incorporating pop culture references into your laptop skin can be a fun way to showcase your interests. From favorite bands to iconic movie quotes, the possibilities are endless.
Laptop Skins in Pakistan: A Growing Trend
In Pakistan, the demand for customized laptop skins is on the rise. Many tech enthusiasts and students are embracing DIY laptop skins to add a personal touch to their devices. The availability of high-quality vinyl and printing services has made it easier for individuals to create their own unique laptop skins.
Local vendors and online stores in Pakistan offer a range of materials and tools for DIY projects. Additionally, social media platforms and online communities are filled with inspiration and tutorials for those looking to dive into the world of custom laptop skins.
Conclusion
DIY laptop skins offer a creative and cost-effective way to personalize your tech and make a statement. By following the steps outlined in this article, you can design and apply a custom laptop skin that reflects your unique style. Whether you’re inspired by nature, minimalism, or pop culture, the possibilities are endless. With the growing trend of laptop skins in Pakistan, now is a great time to explore this exciting DIY project and transform your laptop into a personalized work of art.