Reasons to configure Zimbra in Outlook
Some of the reasons users can consider for configuring Zimbra mail in Outlook are:
- Easy integration: Outlook easily integrates with other applications from the Microsoft suite such as SharePoint, Excel, Word, OneDrive, Teams etc. It is also compatible with email protocols like IMAP and POP and a wide range of devices. This allows users to easily collaborate with others across different platforms.
- Advanced security: Outlook offers much better security features like email encryption, multi-factor authentication, robust spam filter, etc. Users can send emails containing sensitive data without worrying about data breach with the encryption feature of Outlook.
- Advanced search feature: Outlook has a splendid search feature that enables users to quickly search for the emails, attachments, contacts, tasks, or calendars that they require. With the help of advanced filters like ‘From’, ‘To’, ‘Subject’, and ‘attachments’, users can search for the exact email needed.
Steps to configure Zimbra in Outlook
Zimbra primarily uses IMAP email protocol to send and receive emails. Users can add their Zimbra account in Outlook by manually configuring it by entering a few essential details like emails IDs, IMAP port settings, SMTP port settings, etc. the steps to configure Zimbra in Outlook are:
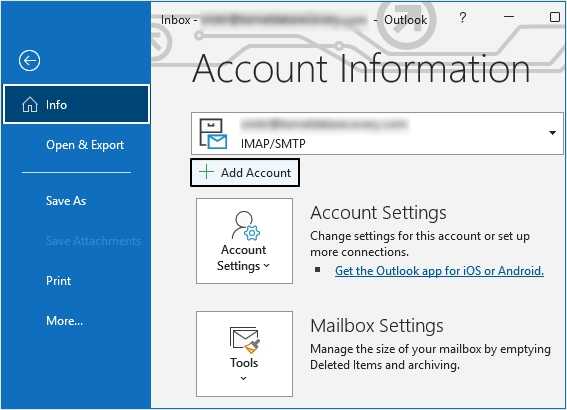
- Launch Microsoft Outlook and click on the File
- Click on Add Account.
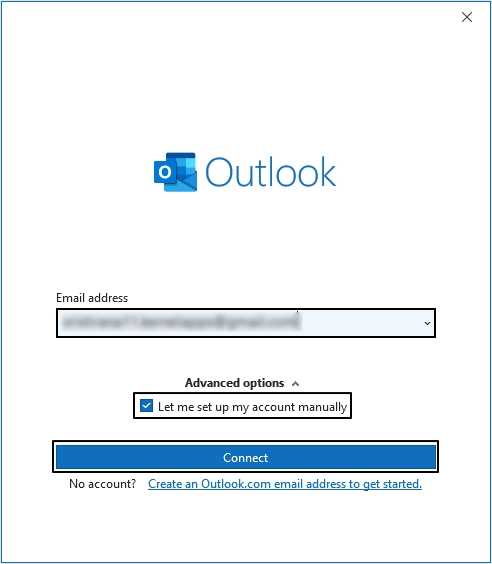
- In the newly opened window, enter your email address and tick the ‘Let me set up my account manually’ checkbox. Click on Connect.
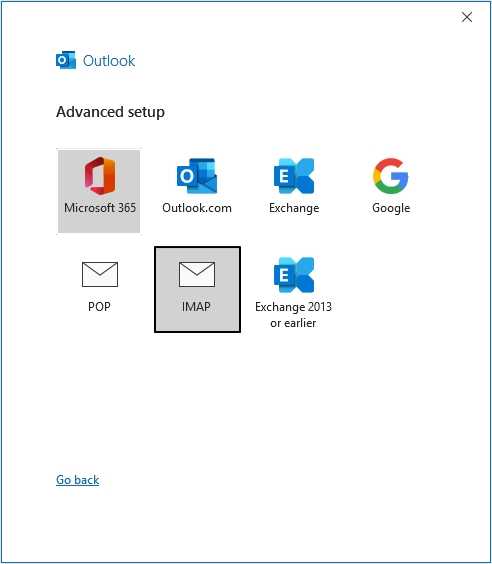
- Select IMAP from the given options and enter all the necessary details such as incoming and outgoing mail server, port numbers etc.
- In the Incoming Server, type in the port number as 993.
- In the Outgoing Server, type in the port number as 587 and make sure the encryption method is SSL/TLS. Click on Next.
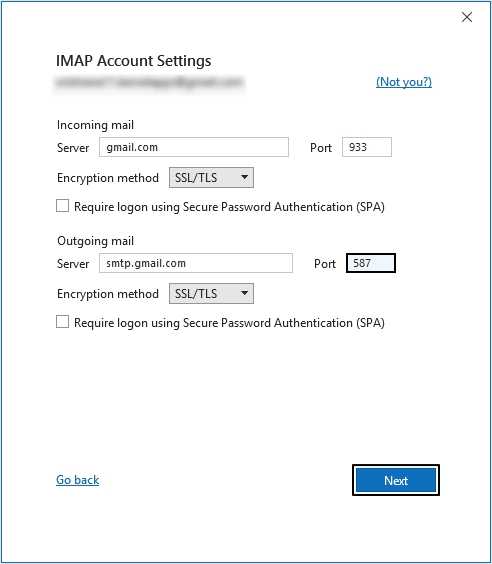
- Next enter your password and click on Connect.
- Your Zimbra mail account would be successfully configured with Outlook.
Prevent data loss while configuring Zimbra in Outlook
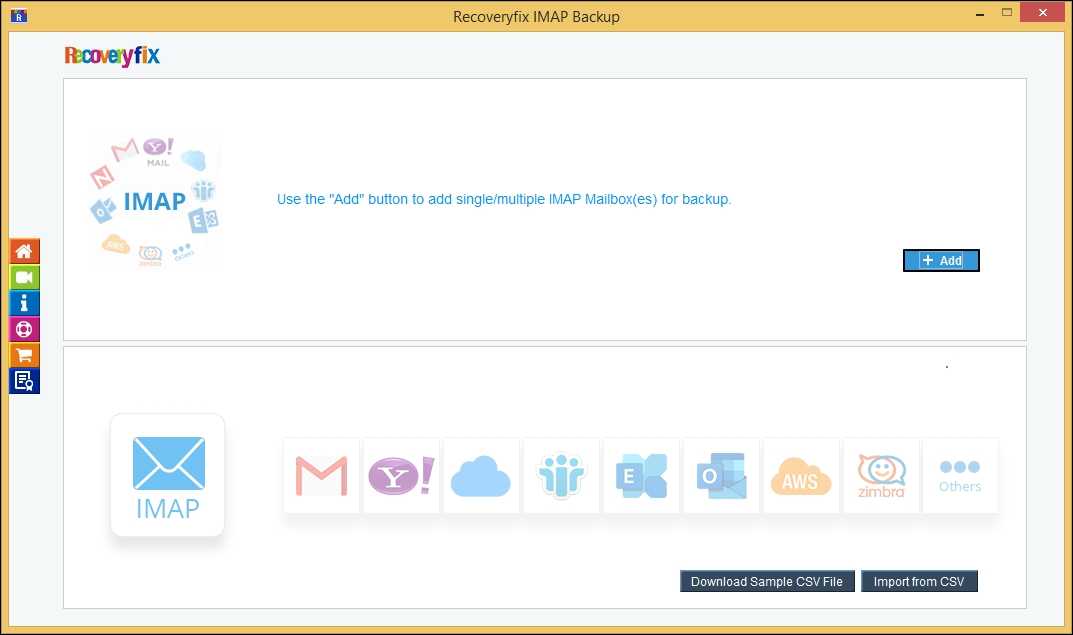
There’s a high chance that because of one wrong step your Zimbra mailbox data can become corrupt and may result in data loss. It is essential to take multiple backups of your mailbox to avoid losing your data in the worst possible scenario. You can try Recoveryfix IMAP Backup to back up your essential data at a safe location of your choice in different file formats. This tool also supports wide range of IMAP email servers such as Outlook, Gmail, ATT, Yahoo, Zoho, AOL, etc. Let’s see the working process of this tool below:
- Install and launch Recoveryfix IMAP Backup. Click on Add option to add your IMAP email account to the tool.
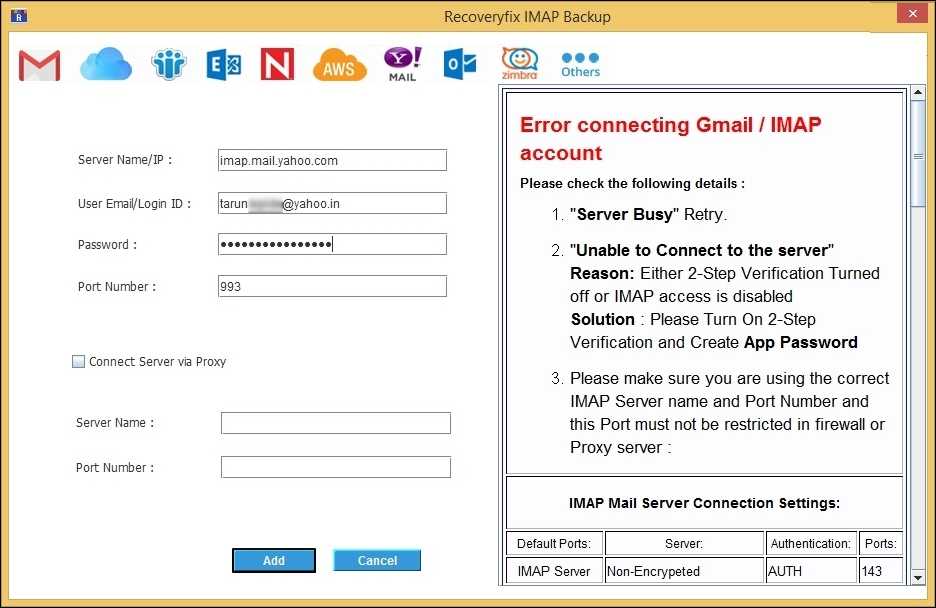
- Enter the details like Server Name, Login ID, Password, Port Number, etc. to add your IMAP account to the tool.
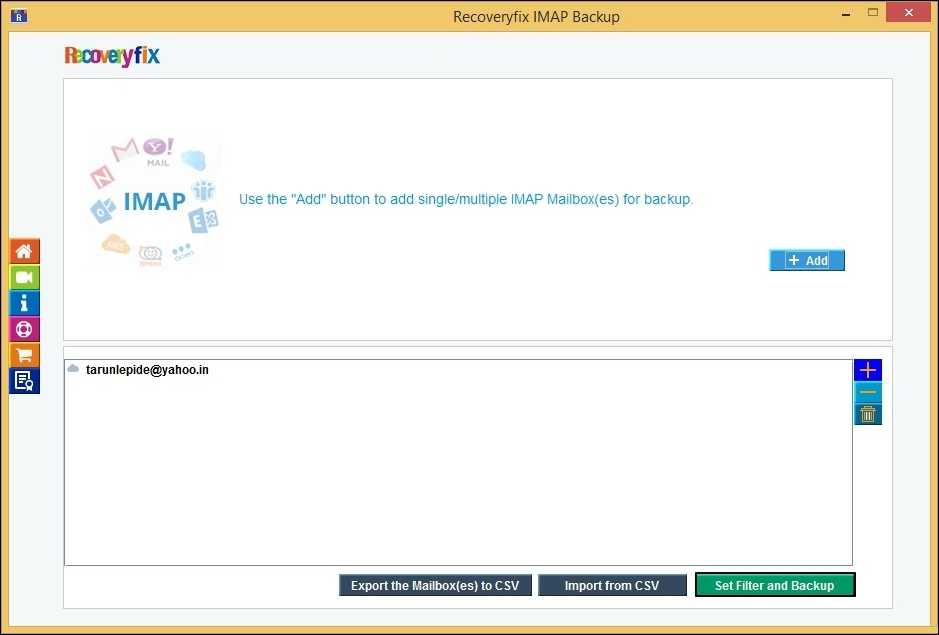
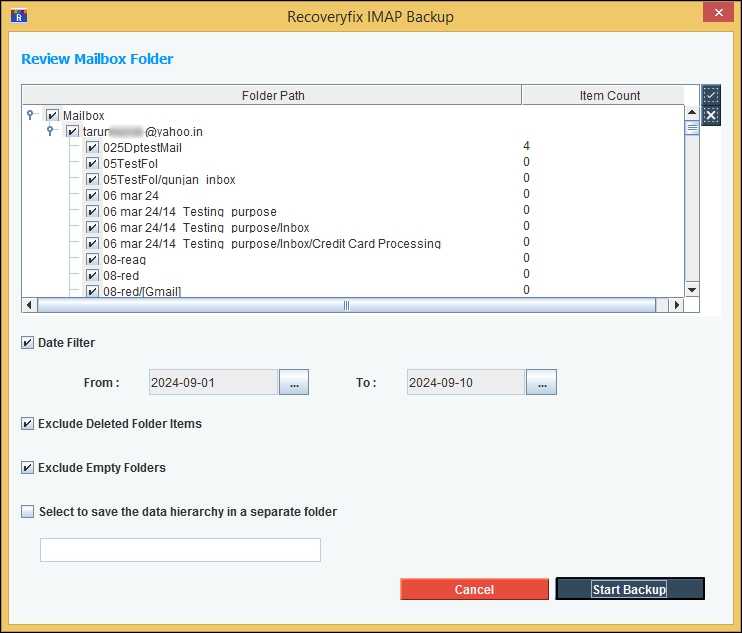
- You can add other IMAP accounts as well if you wish and then click on Set and Filter and Backup.
- Apply the necessary filters to the backup process and click on Start Backup.
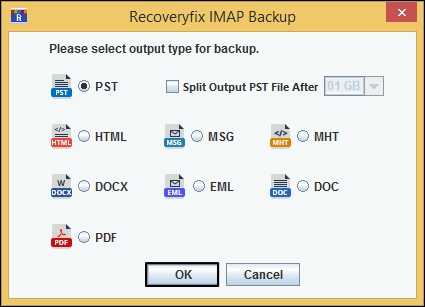
- Choose the desired Output Type and click OK.
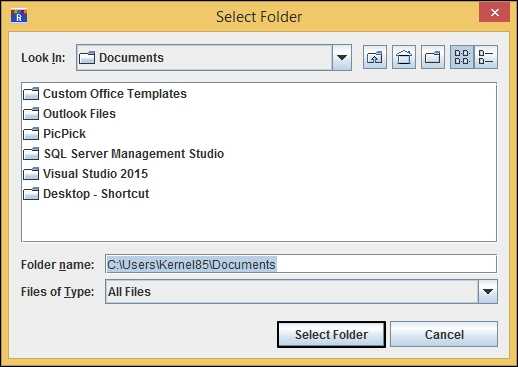
- Browse the location where you want to save your data and click on Select Folder.
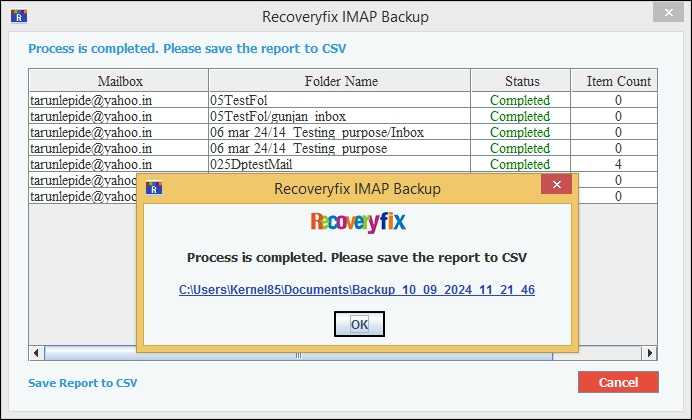
- After the process is successfully completed, you’ll get a dialogue box on your screen confirming the same. Save the report to CSV format.
Conclusion
Users often consider configuring their Zimbra email accounts to Outlook because of the wide range of features provided by Outlook. This write-up goes in detail about some compelling reasons to configure Zimbra in Outlook and an easy method to perform this process. We’ve also mentioned a professional tool, Recoveryfix IMAP Backup to back up all your Zimbra data to prevent any loss of crucial information. This tool can also easily backup Yahoo mails to a hard drive so that you also always have a copy of them on hand.